Steps to a Successful Commercial HVAC Installation

A commercial HVAC system functions as the lungs of your building; when it’s installed correctly via a successful commercial HVAC installation, everything breathes easier. With partners like AC Warehouse providing warehouse-direct expertise in Florida, you’re about to undertake a project that demands precision at every phase, from initial site assessment through final commissioning. Each step you take directly impacts system longevity, energy costs, and occupant comfort for years to come. What separates a successful installation from a costly failure often comes down to six critical steps you can’t afford to overlook.
Key Takeaways
- Conduct a thorough site assessment measuring square footage, insulation quality, and heat gain/loss areas before selecting equipment.
- Select energy-efficient equipment with proper sizing based on building requirements and future expansion plans.
- Prepare installation areas by clearing obstacles, protecting surfaces, and ensuring electrical connections meet code compliance.
- Install indoor units centrally with secure mounting while placing outdoor units on level surfaces with proper clearance.
- Test all components systematically, verify refrigerant pressures and electrical connections, then document results for future maintenance.
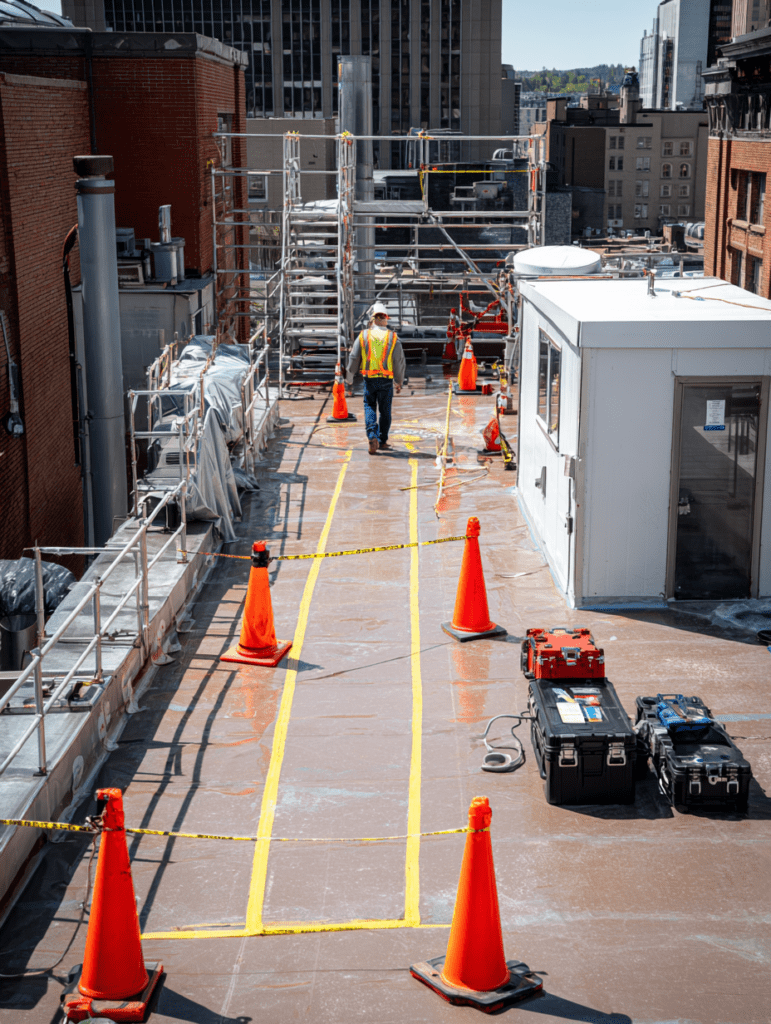
Conduct a Thorough Site Assessment

Before selecting any HVAC equipment, you’ll need to conduct a thorough site assessment that accounts for the building’s unique characteristics. Start by measuring total square footage using precise tools like a laser distance meter. You’ll want to analyze the layout carefully, noting ceiling heights and window placements that directly affect heating and cooling demands.
Evaluating insulation quality is your next priority; it determines how effectively the space retains temperature and impacts overall energy efficiency. Identify areas with high heat gain or loss so you can tailor the system for ideal performance.
Don’t overlook future space needs during your site assessment. Accounting for potential occupancy changes or layout modifications now prevents costly system replacements later, keeping your project on track and your team aligned.
Select the Right Equipment for Your Building
Once you’ve completed your site assessment, you’re ready to match equipment specifications to your building’s documented requirements. Selecting the right HVAC system depends directly on your building size calculations, layout analysis, and insulation evaluation data you’ve gathered.
Your thorough site assessment reveals which areas experience high heat gain or loss, guiding you toward appropriately sized units. Don’t overlook future expansion plans; you’ll want equipment that adapts to changing occupancy without requiring premature replacement.
AC Warehouse specializes in energy-efficient systems with EnergyStar ratings to balance upfront investment against long-term operational costs. These systems deliver measurable savings while meeting sustainability benchmarks your organization values.
Cross-reference your laser-measured dimensions with manufacturer specifications to confirm compatibility with existing infrastructure. This precision guarantees your selected equipment integrates seamlessly into your building’s mechanical framework.
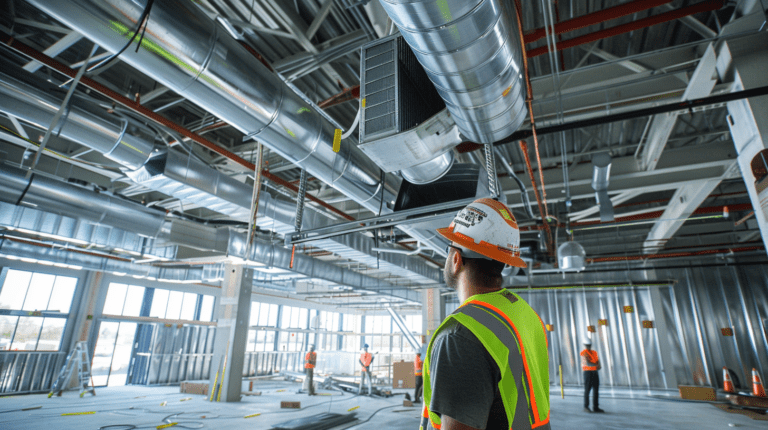
Prepare the Installation Area for Safety and Access
After selecting your equipment, shift your focus to preparing the installation area, a step that directly impacts both worker safety and installation quality. Clear all obstacles and debris to guarantee your team has safe access to work zones. Cover sensitive surfaces to protect them from damage during the process.
Before proceeding, check electrical connections and mounting surfaces for current code compliance. This verification confirms both safety standards and structural integrity for your installation. You’ll also need to verify adequate clearance around all installation zones per technical specifications, which guarantees proper airflow and future maintenance access.
Don’t overlook personal protective equipment. Require your team to wear safety glasses and gloves throughout preparation and installation phases. Following these protocols helps you prepare a workspace where your crew can perform efficiently and safely.
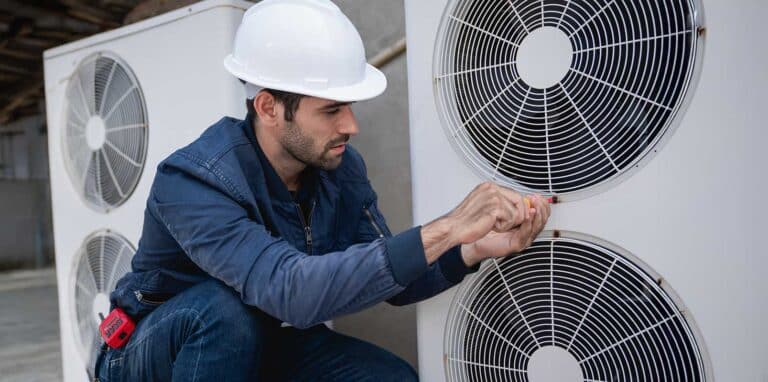
Install Indoor and Outdoor System Components
With your installation area properly prepared, you can now begin mounting the indoor and outdoor system components, the core of your HVAC installation. Position your indoor unit centrally to maintain consistent indoor temperatures and ideal airflow throughout the space.
Follow these crucial installation steps:
- Secure mounting brackets directly into structural supports to eliminate vibrations during operation
- Place the outdoor unit on a level surface with adequate clearance for maintenance access and proper drainage
- Connect refrigerant lines using clean cuts and high-quality brazing materials to prevent leaks
- Verify all connections against manufacturer specifications for system efficiency and safety compliance
You’ll want to double-check each connection point before proceeding. This attention to detail guarantees your installation meets professional standards and delivers reliable performance.
Connect Electrical and Refrigerant Lines Properly
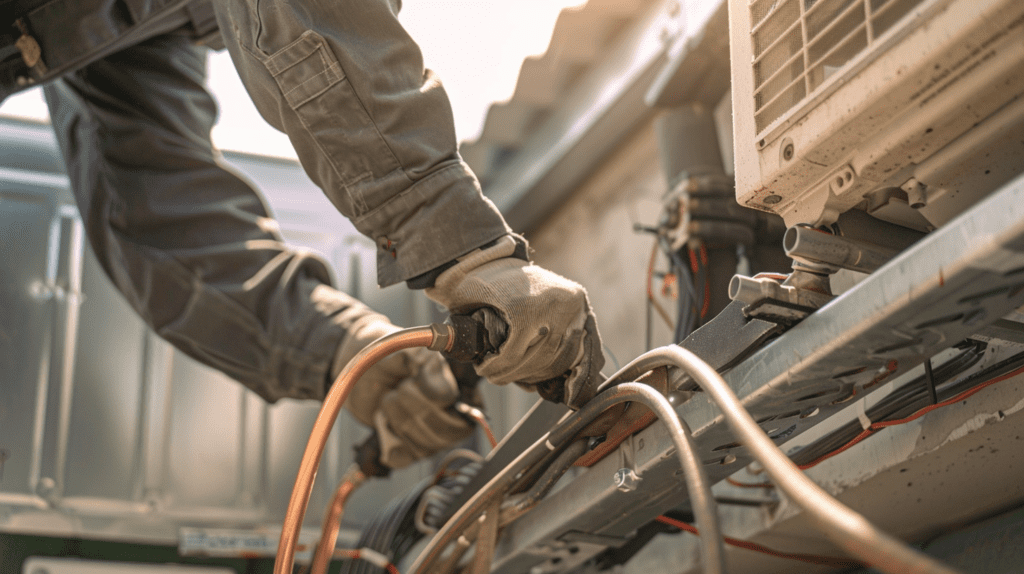
Proper electrical and refrigerant line connections form the backbone of your HVAC system’s safe, efficient operation. Before touching any electrical components, turn off the power at the main circuit breaker. You’ll want to select wire gauges matching manufacturer specifications and secure all connections with professional-grade wire nuts to prevent failures.
For refrigerant flow optimization, verify line lengths against system requirements before making clean, precise cuts. Apply high-quality brazing materials while maintaining proper alignment throughout the connection process. This attention to detail during proper installation prevents costly callbacks and system inefficiencies.
Once you’ve completed all connections, systematically check for leaks at every joint. Your thorough approach here guarantees you’re delivering the reliable performance your clients expect from experienced professionals in our industry.
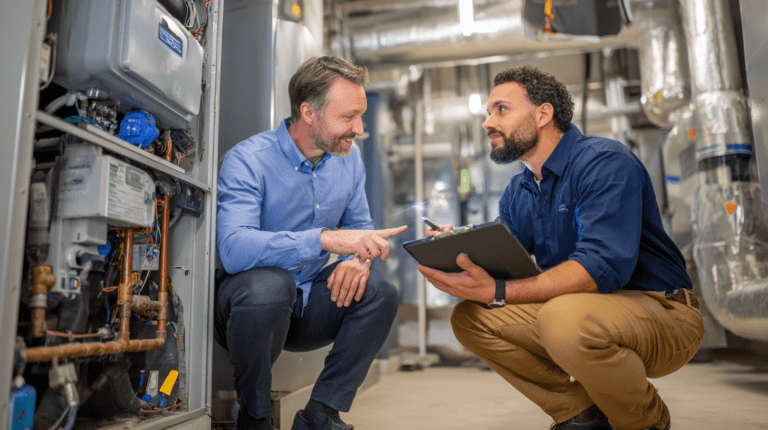
Test, Commission, and Document System Performance
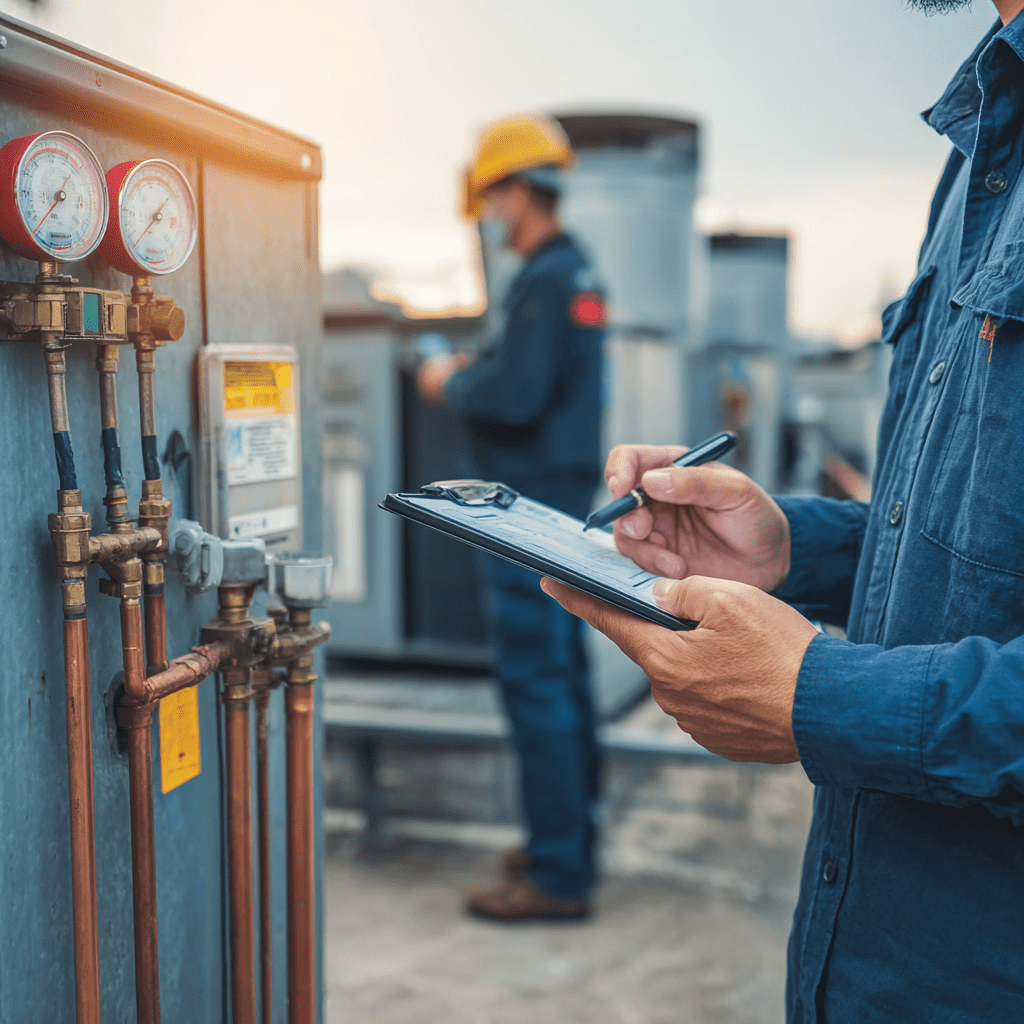
Once you’ve secured all electrical and refrigerant line connections, systematic testing validates that every component performs within manufacturer specifications and local energy code requirements. You’ll use diagnostic tools to commission the system, identifying inefficiencies and adjusting settings for peak performance.
During testing, verify these critical parameters:
- Refrigerant pressures at suction and discharge lines
- Electrical connections and voltage readings
- Thermostat responsiveness and calibration
- Airflow rates and temperature differential
Schedule a complete operational cycle test to assess performance under varying load conditions. This confirms all components function correctly before you hand off the system.
Document everything: test results, calibration settings, and maintenance recommendations. This baseline supports your team’s future troubleshooting efforts and demonstrates compliance. Thorough documentation protects your installation and builds lasting client relationships.
Frequently Asked Questions
How Long Does a Typical Commercial HVAC Installation Take to Complete?
Typically 1-5 days, but complex projects may take weeks, depending on building size, complexity, and site access. Build in buffer time for assessments, mounting, connections, and testing.
What Is the Average Cost of a Commercial HVAC Installation?
$15,000–$150,000, varying by equipment capacity, system complexity, ductwork, electrical upgrades, permits, and labor identified in site assessments.
How Often Should Commercial HVAC Systems Be Serviced After Installation?
Quarterly inspections; thorough servicing twice yearly. Replace filters monthly, check refrigerant, clean coils, and calibrate thermostats to prevent breakdowns.
What Warranties Are Typically Included With Commercial HVAC Installations?
Manufacturer’s: 5-10 years on compressors and major components. Contractor labor: 1-2 years. Bundle extended service agreements and document all terms.
Can Business Operations Continue During the HVAC Installation Process?
Yes, by scheduling off-peak hours or phased work to minimize disruption while connecting lines and installing components.
Conclusion
Think of your commercial HVAC installation as constructing a fortress; each step you’ve taken builds another wall of protection against inefficiency and failure. AC Warehouse helps survey your territory, choose weapons wisely, and fortify every connection in Florida’s climate. Now your system stands ready to defend your building’s comfort for years to come. Don’t skip your scheduled maintenance checkpoints; they’re the sentries that’ll keep your investment performing at peak efficiency.